You spend over an hour meticulously painting and curing your at-home manicure, only to be left with a frustratingly tacky, sticky mess on your nails. The beauty industry has long insisted that you need a specialized, premium-priced “gel cleanser” or finishing wipe to achieve that high-gloss, touchable, salon-quality finish. But what if the secret to that flawless, glass-like shine is already sitting on a shelf in your bathroom cabinet?
A viral discovery is currently upending the nail care industry, proving that an everyday first-aid staple dissolves the sticky inhibition layer of gel polish perfectly. This revelation directly contradicts decades of clever cosmetic marketing that convinced consumers to spend up to ten times more for branded, proprietary liquids. The hidden solution relies on a precise chemical solvent to strip away uncured residue, leaving behind a brilliant shine without compromising the hardened color beneath.
The Science Behind the Sticky Layer (and Why It Happens)
To understand why this household hack is so disruptive, you must first understand the chemistry of a gel manicure. When gel polish cures under a UV or LED lamp, ambient oxygen physically interrupts the photopolymerization process at the very surface of the nail. This creates what clinical cosmetic chemists call an oxygen inhibition layer. Contrary to popular belief, it is not wet polish; rather, it is a microscopic film of uncured oligomers and monomers that remain stubbornly sticky to the touch.
Many DIY manicurists panic when they feel this tackiness, assuming their expensive curing lamp is broken or their polish formula is defective. Expert nail technicians advise looking at a quick diagnostic breakdown to understand exactly what is happening on your nail plate before you reach for harsh chemicals:
- Symptom: Tacky surface immediately after the final top coat cure = Cause: Normal oxygen inhibition layer interacting with the air.
- Symptom: Gummy, easily dented polish beneath the sticky layer = Cause: Under-curing due to a weak LED lamp or applying polish layers too thick.
- Symptom: Cloudiness after wiping the sticky layer = Cause: Using a cleanser with too much water or a contaminated wiping pad.
For years, luxury salons have sold proprietary gel cleansers to seamlessly remove this tacky layer. However, a rigorous side-by-side comparison reveals a striking reality about what consumers are actually paying for at the beauty counter.
Salon Cleansers vs. Standard Alternatives
| Feature | Expensive Salon Gel Cleanser | Standard Household Alternative |
|---|---|---|
| Target Audience | Professional nail technicians and brand-loyal beauty consumers. | Savvy DIY manicurists and budget-conscious cosmetic enthusiasts. |
| Primary Benefit | Pleasant proprietary fragrance and brand-matching aesthetic packaging. | Extreme cost-efficiency combined with identical chemical efficacy. |
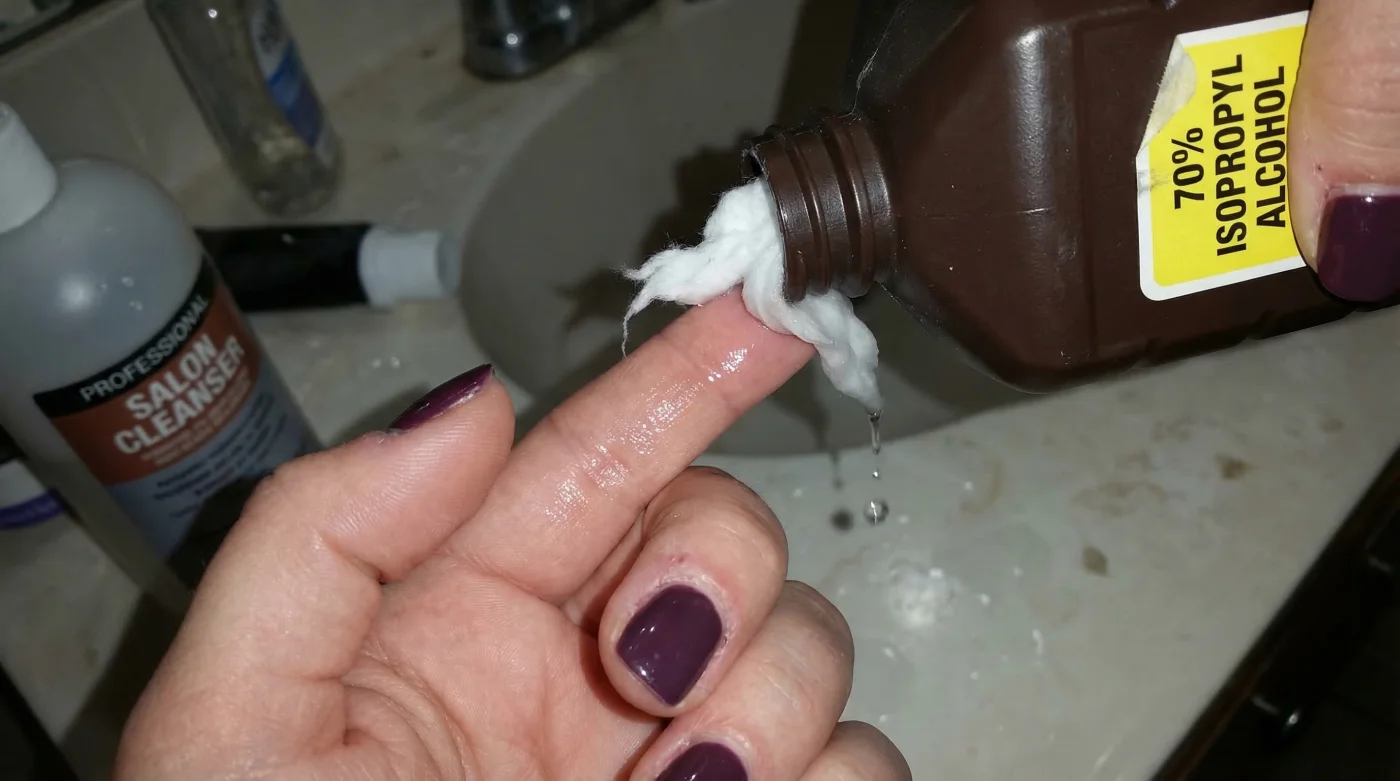
| Active Ingredient | Isopropyl alcohol (frequently diluted with acetone, water, or perfumes). | Isopropyl alcohol. |
| Cost per Ounce | $4.00 to $8.00+ | $0.15 to $0.30 |
As the comparative data clearly demonstrates, the heavy premium you pay is almost entirely for frosted packaging and synthetic fragrance, leading us directly to the core active ingredient that actually performs the heavy lifting.
Unmasking the Active Ingredient: Why Rubbing Alcohol Reigns Supreme
- CND Shellac completely removes toxic plasticizers from their entire professional line
- Purell hand sanitizer daily application slowly dissolves expensive gel polish top coats
- Diluted tea tree oil entirely prevents lifting beneath heavy builder gels
- Standard rubbing alcohol strips sticky gel residue exactly like expensive salon cleansers
- Formaldehyde based nail strengtheners completely shatter dry peeling plates over time
However, experts warn that not all rubbing alcohol is created equal when it comes to finishing your manicures. The concentration level plays a highly critical role in how effectively the solvent evaporates and strips the uncured oligomers without dulling the beautifully cured top coat underneath. If you attempt to use a concentration that contains too much distilled water, you will inevitably end up with a hazy, matte finish instead of a mirror-like shine.
The Chemical Dosing and Concentration Guide
| Concentration Level | Evaporation Rate | Effectiveness on Gel Residue | Expected Finish |
|---|---|---|---|
| 50% Isopropyl Alcohol | Extremely Slow (High water content) | Poor – Merely smears the tacky layer across the nail plate. | Cloudy, dull, and highly streaky. |
| 70% Isopropyl Alcohol | Moderate | Good – Requires slightly more physical pressure to dissolve bonds. | Shiny, but may require a secondary dry wipe to prevent hazing. |
| 91% to 99% Isopropyl Alcohol | Rapid | Excellent – Instantly dissolves the chemical bonds of the inhibition layer. | Flawless, glass-like professional salon shine. |
Understanding these specific concentration metrics allows you to expertly harness the exact chemical mechanism utilized by veteran nail technicians, bringing us to the physical application process.
The Exact Protocol for Stripping Gel Residue
Now that you have secured the scientifically correct concentration of rubbing alcohol, mastering the physical application technique is your final hurdle. Using the wrong wiping material or a sloppy technique can drag the sticky, uncured residue across the nail plate, instantly ruining the high-definition shine you just spent an hour meticulously creating.
The Top 3 Rules for a Flawless Wipe
- 1. The Lint-Free Mandate: Never use standard bathroom cotton balls or facial tissues. The jagged, loose fibers will aggressively stick to the inhibition layer before the alcohol has a chance to dissolve it. Always use tightly woven, lint-free cosmetic pads or specialized professional nail wipes.
- 2. The 2-Milliliter Saturation Rule: Dispense exactly 2 milliliters (approximately 0.06 ounces) of 91% rubbing alcohol onto your lint-free wipe. The pad must be completely saturated but not dripping; excess liquid can flood your delicate cuticles and cause extreme dryness.
- 3. The Press-and-Pull Technique: Press the saturated wipe firmly onto the cured nail plate. Hold it absolutely still for exactly 3 seconds to allow the Isopropyl alcohol to fully break the chemical bonds of the sticky layer. Then, apply firm downward pressure and pull the wipe straight off the tip of the nail in one swift, confident motion. Never scrub back and forth.
To ensure you never accidentally compromise the structural integrity of your manicure, it is vital to source the absolute best materials while actively avoiding common commercial traps.
Quality Guide: Navigating Nail Care Solvents
| Category | What to Look For | What to Avoid |
|---|---|---|
| Solvent Type | 91% to 99% pure rubbing alcohol sourced from a standard pharmacy aisle. | Formulas containing hidden acetone or added moisturizers like aloe vera. |
| Wiping Medium | Lint-free, non-woven sterile gauze pads or ultra-stiff cosmetic sponges. | Fluffy cotton balls, paper towels, or any form of standard toilet paper. |
| Storage Protocols | Opaque, tightly sealed bottles kept consistently at a cool 68 to 72 degrees Fahrenheit. | Clear bottles left near active UV lamps or sunny windows, which rapidly degrades the solvent. |
Mastering this beautifully simple chemical substitution not only saves you hundreds of dollars a year, but it seamlessly elevates your understanding of cosmetic science directly into the troubleshooting phase.
Maximizing Your Manicure: Expert Troubleshooting
Even when wielding the pure, unadulterated power of 91% rubbing alcohol, minor application errors can occasionally occur during the final steps of your manicure. If you wipe your nail and immediately notice a matte patch or an unappealing dull streak, it is rarely the fault of the alcohol itself. Studies show this primarily happens because the wiping pad absorbed too much sticky residue from the first few nails and has simply redeposited those uncured oligomers onto the next nail plate.
Clinical nail experts universally recommend using a fresh, clean side of the lint-free wipe for every single nail. If a nail does become cloudy, there is no need to panic or file off the top coat. Simply saturate a brand-new, sterile wipe with another 2 milliliters of rubbing alcohol, apply firm downward pressure, and swipe again. The fresh solvent will instantly re-activate the smeared residue and lift it away, permanently restoring the brilliant depth of your top coat. By cutting completely through the expensive marketing noise and relying entirely on hard chemistry, you can consistently achieve a flawless, diamond-hard manicure without ever opening your wallet for a specialized cleanser again.