You have meticulously prepped your nails, applied an expensive gel polish, and cured it under the LED lamp, only to experience painful redness, mysterious swelling, or premature peeling just days later. Most DIY nail enthusiasts and even seasoned professionals mistakenly blame the chemical composition of their primer, an allergic reaction to the gel, or the wattage of their curing lamp. However, the root cause of these agonizing inflammatory reactions often traces back to a seemingly innocent step in your prep routine, involving a ubiquitous tool you likely assume is perfectly safe to use right out of the package.
The secret to flawless, long-lasting gel application does not lie in buying more expensive serums or sophisticated e-files, but in a simple physical modification of a disposable salon staple. If you are tearing open a fresh pack of wooden pushers and using them directly on your delicate nail bed, you are unknowingly setting the stage for bacterial entry and severe structural damage. Discovering this one hidden habit will completely transform the health of your nail beds, eliminate chronic lifting, and ensure a flawless canvas for your manicures.
The Factory-Fresh Fallacy: Why Disposable Does Not Mean Safe
For decades, the beauty industry has championed the use of disposable tools as the gold standard for sanitation. While opening a fresh implement prevents cross-contamination between clients, it introduces an entirely different physical hazard. The vast majority of commercially produced wooden cuticle sticks (often referred to as orange wood sticks) are manufactured using high-speed industrial blades. This mass-production process leaves a deceptively sharp, microscopic burr along the beveled edge of the wood.
When you use an unmodified, factory-fresh stick to push back the proximal nail fold, that sharp wooden edge acts like a microscopic scalpel. It scrapes off vital protective layers of the nail plate and creates invisible lacerations in the surrounding tissue. Studies show that when the skin barrier is breached during the aggressive pushing and scraping phase of gel prep, the risk of contact dermatitis and bacterial infection skyrockets. Modifying the tool before it ever touches your skin is the only way to mitigate this risk.
| Target Audience | Current Risky Habit | Benefit of Modification |
|---|---|---|
| DIY Nail Enthusiasts | Using tools straight out of the plastic wrap. | Eliminates painful post-manicure redness and swelling. |
| Professional Nail Technicians | Skipping tool prep to save time between clients. | Prevents client complaints of soreness and reduces gel lifting claims. |
| Chronic Gel-Lifters | Aggressively scraping the nail plate with a sharp edge. | Preserves the top layers of keratin, ensuring maximum gel adhesion. |
To truly grasp why these factory-cut edges are so detrimental to your nail health, we must first examine the microscopic trauma they inflict on the surrounding tissue.
The Anatomy of a Micro-Tear
The skin surrounding your nail plate is an intricate, highly sensitive defense system designed to keep pathogens out of the body. The visible band of tissue at the base of your nail, commonly misidentified as the cuticle, is actually the eponychium. The true cuticle is the thin, translucent layer of dead tissue that rides out on the nail plate, known in clinical dermatology as the stratum corneum of the proximal nail fold. Beneath all of this lies the matrix unguis, the delicate mother tissue where new nail cells are born.
When a sharp, unmodified wooden edge is jammed into the eponychium, it causes micro-tears. These invisible wounds compromise the living tissue, causing an immediate immune response. Furthermore, excessive downward pressure with a sharp edge can dent the soft keratin of the newly forming nail plate, leading to horizontal ridges that grow out months later. Experts advise that troubleshooting your manicure failures often comes down to diagnosing these microscopic injuries.
Diagnostic Guide: Symptom = Cause
- Symptom: Throbbing, red, inflamed skin 24 to 48 hours post-manicure = Cause: Invisible micro-lacerations from unsanded wooden cuticle sticks allowing bacteria to bypass the compromised eponychium.
- Symptom: Gel polish lifting at the base within 3 days = Cause: The sharp wooden edge gouged the nail plate, creating an uneven, damaged surface where the gel base coat cannot properly bond.
- Symptom: Deep horizontal ridges appearing in the nail plate weeks after a manicure = Cause: Excessive downward pressure on the matrix unguis using an unyielding, sharp factory tool edge.
- Symptom: Sudden development of ragged hangnails = Cause: Micro-splinters shedding from the rough, unmodified wood into the lateral nail folds during prep.
| Biological Component | Function in Nail Health | Mechanism of Injury by Sharp Tools |
|---|---|---|
| Eponychium | Acts as a living seal against bacteria and debris. | Punctured by factory-cut splinters, causing acute inflammation. |
| Matrix Unguis | Produces healthy, flat keratin cells for the nail plate. | Bruised by sharp, concentrated pressure, resulting in permanent grooves. |
| Stratum Corneum | Dead tissue that needs gentle exfoliation. | Torn unevenly rather than gently pushed, leaving jagged remnants that disrupt gel flow. |
- CND Shellac completely removes toxic plasticizers from their entire professional line
- Purell hand sanitizer daily application slowly dissolves expensive gel polish top coats
- Diluted tea tree oil entirely prevents lifting beneath heavy builder gels
- Standard rubbing alcohol strips sticky gel residue exactly like expensive salon cleansers
- Formaldehyde based nail strengtheners completely shatter dry peeling plates over time
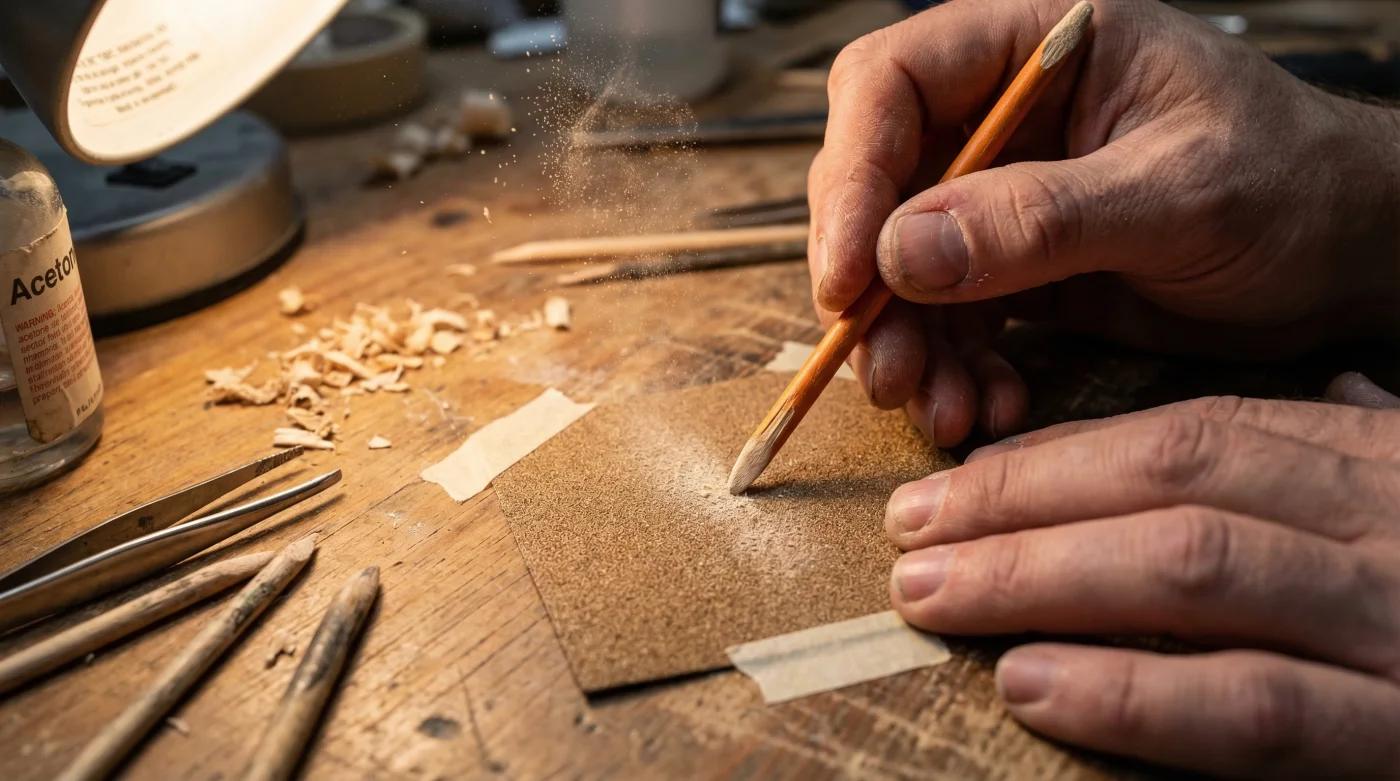
The Physical Modification: Dulling the Edge
The solution to preventing micro-tears and preserving your nail matrix is incredibly straightforward: you must manually sand the edges of your wooden cuticle sticks before they ever make contact with the nail. This physical modification takes less than ten seconds per stick but provides invaluable protection for your skin. By utilizing a standard nail file, you can transform a hazardous, sharp instrument into a perfectly customized, safe, and gentle prep tool.
Step 1: Choose the Correct Abrasive
Never use a coarse file to modify your wooden tools, as this will simply create larger splinters. Opt for a fine-grit file, ideally a 180-grit or 240-grit traditional emery board. The goal is to smooth and round the edge, not to aggressively carve away the wood.
Step 2: The 45-Degree Angle Technique
Hold the wooden stick in your dominant hand and the nail file in the other. Place the beveled, angled edge of the stick against the file at a precise 45-degree angle. You want to focus purely on the sharp lip of the wood where the factory blade made its final cut.
Step 3: Execute the Dosing Protocol
Apply extremely light pressure. Perform exactly 3 to 4 gentle, downward swipes across the file. Rotate the stick slightly and repeat the motion on the sharp corners of the bevel. Finally, run the flat pad of your thumb over the newly sanded edge; it should feel entirely smooth, resembling the soft edge of a silicone tool rather than a wooden spear.
| Modification Variable | Recommended Dosing / Measurement | Technical Mechanism |
|---|---|---|
| File Grit Strength | 180-grit to 240-grit | Provides enough friction to dull the blade edge without fracturing the wood fibers. |
| Sanding Angle | 45 Degrees | Maintains the structural integrity of the bevel while removing the microscopic burr. |
| Motion and Pressure | 3 to 4 gentle downward swipes (approx. 2 seconds) | Prevents over-sanding, which would render the tool too blunt to effectively lift dead tissue. |
Now that you have mastered the precise physical modification required for safe prep, you must ensure you are starting with high-quality raw materials.
Perfecting Your Prep: The Ultimate Quality Guide
Even with the perfect sanding technique, the baseline quality of your disposable tools matters immensely. The market is flooded with incredibly cheap, mass-produced wooden tools that use porous, brittle wood prone to shattering under minimal pressure. True orange wood is historically favored because it is a dense, hard wood that does not easily splinter, making it the ideal candidate for our physical modification.
When purchasing your supplies, you must become an active label reader. Avoid tools packaged loosely in bulk bins without a clear indication of the wood type, as these are often made from soft pine or bamboo substitutes that absorb moisture and harbor bacteria rapidly. Instead, look for tight-grain wood that feels smooth along the cylindrical shaft even before modification.
| Feature | What To Look For (Premium Quality) | What To Avoid (High Risk) |
|---|---|---|
| Material Density | True orange wood or tight-grain birch; feels weighty and solid. | Soft, fibrous pine or generic bamboo that snaps easily under pressure. |
| Shaft Texture | Smooth, polished cylindrical body that will not snag protective gloves. | Rough, fuzzy textures along the shaft indicating cheap manufacturing and splinter risks. |
| Bevel Consistency | Uniform angles on both ends, providing a predictable surface for your 180-grit modification. | Asymmetrical, jagged, or overly thick edges that cannot be salvaged by manual sanding. |
Elevating your nail prep with this simple yet profound modification ensures your next gel application is a pristine, pain-free masterpiece.