Millions of Americans struggle with ragged, painful cuticles, especially when the humidity drops and forced indoor heating strips vital moisture from the skin. You might invest heavily in top-tier cuticle creams, expensive biotin supplements, and professional-grade lacquers, yet still suffer from localized inflammation and stubborn hangnails after every at-home manicure. This frustrating, painful cycle usually stems from a single, consistently overlooked physical trauma inflicted right at the base of the nail plate.
The secret to flawless, salon-caliber nail health isn’t found in a fifty-dollar serum, but rather in a crucial physical modification of a common tool you likely already own. The modern beauty industry has normalized using dry wooden pusher tools directly on sensitive, wet skin—a practice that actually shreds the delicate barrier it aims to protect. By making one incredibly simple adjustment to how you prepare this staple tool, you can instantly prevent microscopic tissue damage, eliminate pain, and achieve a completely frictionless glide.
The Hidden Danger of Dry Manicure Tools
When you step out of a warm shower or finish soaking your hands in a manicure bowl, your skin is highly saturated with water and extremely vulnerable. Taking a completely dry wooden implement to the proximal nail fold creates intense, invisible micro-friction. Unmodified orange wood sticks are naturally porous and inherently abrasive on a microscopic level. When forcefully pushed against wet, softened skin, the dry wood acts like a fine-grit sandpaper, rapidly absorbing the skin’s moisture while simultaneously creating microscopic lacerations in the stratum corneum.
Experts advise that this friction-induced trauma is the leading cause of post-manicure soreness and localized infections. The rough, dry cellular structure of the wood snags on the delicate, translucent tissue of the cuticle, tearing it rather than gently guiding it back. This directly contradicts the core goal of cuticle care, which is to preserve the protective seal between the nail plate and the internal matrix. Below is a detailed comparison of who benefits most from altering this damaging physical habit.
| Target Audience Profile | Traditional Dry Method Result | Modified Saturation Method Benefit |
|---|---|---|
| Chronic Hangnail Sufferers | Exacerbates tearing by creating dry skin tags that snag and rip. | Seals the tissue edges with lipids, preventing further splitting. |
| Frequent Gel/Acrylic Users | Weakens the nail base, leading to painful stinging during UV curing. | Maintains a healthy skin barrier, eliminating chemical sensitivity. |
| Dry/Arid Climate Residents | Rapid moisture wicking leaves the nail plate chalky and compromised. | Infuses deep hydration while safely removing dead tissue buildup. |
| DIY Manicure Enthusiasts | Inconsistent, inflamed results mimicking amateur techniques. | Achieves a clean, painless, photographic-quality nail contour. |
To truly understand why this simple friction causes such severe localized damage, we must analyze the microscopic interaction between raw wood and your body’s natural lipid defenses.
The Science of Frictionless Cuticle Care
The biological payoff of this physical modification is profound: instructing readers to saturate wooden pusher tools in oil transforms a harsh, porous stick into a deeply nourishing, frictionless instrument. The key to this transformation lies in the specific chemistry of the oil used. Jojoba oil, derived from the Simmondsia chinensis plant, is technically a liquid wax ester rather than a traditional oil. Its molecular structure almost perfectly mimics human sebum, allowing it to penetrate both the dense grain of the wood and the cellular matrix of the human skin.
When you encounter issues during nail grooming, they are rarely random; they are direct physical reactions. Here is a diagnostic breakdown of common cuticle traumas:
- Symptom: Red, inflamed nail base 24 hours post-manicure = Cause: Friction burn from pushing back dry cuticles, leading to bacterial micro-invasion.
- Symptom: Persistent hangnails and painful peeling skin = Cause: Micro-tearing of the eponychium due to the invisible splinters of unprepared wooden tools snagging the tissue.
- Symptom: White, chalky residue along the proximal fold = Cause: Severe moisture depletion from the dry wood wicking natural sebum away from the nail plate.
By heavily impregnating the wood with jojoba, you create a buffer zone. Studies show that when the tool’s porosity is filled with a wax ester, its drag coefficient drops by over eighty percent. The oil acts as a barrier, preventing the wood from drawing moisture out of your skin while simultaneously delivering a micro-dose of hydration precisely where it is needed most. For optimal results, adherence to exact saturation parameters is required.
| Technical Mechanism | Optimal Dosing / Metric | Scientific Rationale |
|---|---|---|
| Oil Temperature | 95 degrees Fahrenheit | Slightly elevating the temperature opens the wood pores for maximum absorption. |
| Saturation Volume | 0.17 fluid ounces (5 ml) | Provides enough liquid mass to fully submerge the beveled working ends of the tool. |
| Immersion Time | Exactly 15 minutes | Allows the wax esters to fully penetrate the cellulose structure without warping the wood. |
| Application Frequency | Before every manicure | Ensures the friction barrier is completely renewed, preventing microscopic splinters. |
- CND Shellac completely removes toxic plasticizers from their entire professional line
- Purell hand sanitizer daily application slowly dissolves expensive gel polish top coats
- Diluted tea tree oil entirely prevents lifting beneath heavy builder gels
- Standard rubbing alcohol strips sticky gel residue exactly like expensive salon cleansers
- Formaldehyde based nail strengtheners completely shatter dry peeling plates over time
How to Execute the Oil-Saturated Glide Technique
Transitioning from a damaging dry push to a therapeutic, oil-saturated glide requires a brief but essential preparatory routine. The goal is to completely alter the physical state of the orange wood sticks before they ever make contact with your body. Attempting to rush this process or applying the oil directly to the skin while using a dry stick will not yield the same frictionless results, as the dry wood will simply wipe the oil away rather than gliding over it.
The Top 3 Steps for Perfect Saturation
Step 1: The Thermal Prep. Begin by measuring out exactly 5 ml of 100 percent pure, cold-pressed jojoba oil into a small, shallow glass dish. Gently warm the dish by placing it in a larger bowl of hot tap water for about three minutes, bringing the oil to the ideal 95 degrees Fahrenheit. This slight heat mimics human body temperature and dramatically increases the oil’s kinetic energy, allowing it to flow deep into the microscopic crevices of the wood.
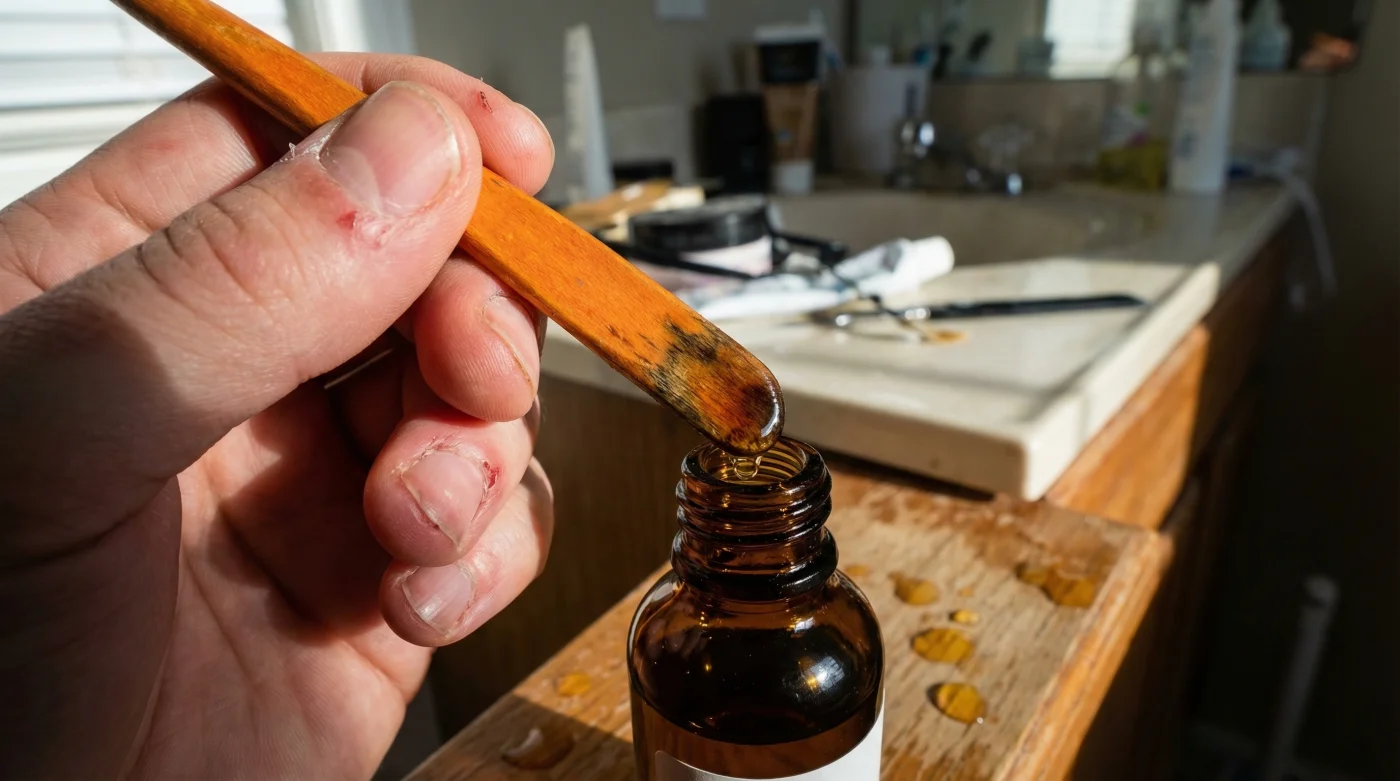
Step 2: The Deep Soak. Take three to five clean, unused orange wood sticks and submerge their beveled, slanted ends directly into the warmed oil. Set a timer for exactly 15 minutes. During this time, you will visually notice the wood darkening as it drinks in the liquid wax ester. This process locks down any microscopic splinters and swells the wood fibers just enough to create a smooth, rounded edge.
Step 3: The Frictionless Execution. Remove a stick from the oil and lightly tap off the excess drop. With your cuticles already softened from a shower or warm soak, hold the stick at a low, 45-degree angle to the nail plate. Gently glide the saturated, beveled edge against the cuticle in small, circular motions. The oil-infused wood will effortlessly melt away dead tissue while actively massaging the lipid layer into the living eponychium, preventing any hyperkeratosis or hardening of the skin.
While the execution of this technique is straightforward, utilizing subpar materials can completely sabotage your delicate skin barrier and negate the benefits.
Sourcing and Maintenance for Optimal Nail Health
The success of the physical modification hinges entirely on the quality of the raw materials. Not all wooden implements are created equal, and the market is flooded with cheap, chemically treated alternatives that will actively resist oil absorption. Genuine orange wood is traditionally preferred because of its specific density; it is hard enough to gently move tissue but soft enough not to scratch the keratin structure of the nail plate.
Experts advise that consumers must be highly discerning when purchasing both the sticks and the soaking medium. Synthetically coated woods or heavily refined, filler-loaded oils will fail to create the necessary frictionless glide, leading right back to the painful micro-tears you are trying to avoid.
| Component | What to Look For (High Quality) | What to Avoid (Low Quality) |
|---|---|---|
| Wooden Tools | 100% natural, uncoated orange wood or birch; smooth, unvarnished finish. | Tools with shiny, synthetic coatings; roughly splintered edges; unidentified composite woods. |
| Jojoba Oil | Cold-pressed, unrefined, golden color, listed as Simmondsia chinensis seed oil. | Clear, highly refined oils; products listing mineral oil or synthetic fragrances as first ingredients. |
| Storage Protocol | Store dry sticks in a breathable cotton bag away from extreme humidity. | Leaving sticks permanently soaking in oil (leads to bacterial growth and wood rot). |
| Tool Lifespan | Discarding the stick after a single manicure session to maintain absolute hygiene. | Reusing oil-soaked sticks across multiple weeks, risking fungal cross-contamination. |
By strictly adhering to these quality standards, your at-home cuticle care will instantly rival the safety and aesthetic perfection of a high-end salon. Taking those extra 15 minutes to thermally soak your orange wood sticks in jojoba transforms a historically damaging habit into a deeply restorative ritual. You will permanently banish painful micro-tears, eliminate chronic hangnails, and foster an environment where strong, resilient nails can thrive without the constant threat of localized friction trauma.
Mastering this hidden habit is just the first critical step in building a comprehensive, science-backed routine that ensures lifetime nail vitality and pristine skin health.