Millions of Americans attempt DIY manicures at home in pursuit of flawless, salon-quality hands, only to wake up the next morning with red, throbbing fingertips. You carefully soak your hands, push back the skin, and begin to trim, yet you inevitably end up with painful, bleeding hangnails that take weeks to heal. Most people assume they simply have sensitive cuticles or lack the steady hand of a professional technician.
The truth is, this localized inflammation has absolutely nothing to do with your skin type and everything to do with a microscopic mechanical error. There is one specific, almost universally taught habit when wielding your grooming tools that guarantees tissue trauma. If you do not correct this subtle wrist adjustment, you are actively severing living tissue instead of safely removing dead skin.
The Anatomy of a Manicure Disaster: Living vs. Dead Tissue
Before executing a single cut, it is vital to understand the biological difference between the true cuticle and the eponychium. The true cuticle is the thin, translucent layer of dead skin that adheres directly to the nail plate. The eponychium, however, is the thickened band of living tissue at the base of the nail. When using Stainless Steel Cuticle Nippers, the goal is exclusively to trim the separated dead cuticle.
Dermatological experts advise that mistakenly cutting the eponychium breaks the body’s natural defensive seal against bacteria, leading to immediate pain, swelling, and the dreaded bleeding hangnail. To identify where your technique is failing, review this diagnostic symptom-to-cause list:
- Symptom: Immediate sharp pain and pinpoint bleeding = Cause: Nippers angled deeply into the living eponychium.
- Symptom: Redness and throbbing 24 hours later = Cause: Micro-tears from dull blades pulling the tissue rather than slicing it.
- Symptom: Jagged skin tags forming days after a manicure = Cause: Snapping the blades shut and pulling away, rather than allowing the sharp edges to complete the cut.
To stop this cycle of inflammation, we must examine exactly what happens when forged steel meets delicate human skin at the wrong trajectory.
The Biomechanics of the Perfect Cut: Why Angles Matter
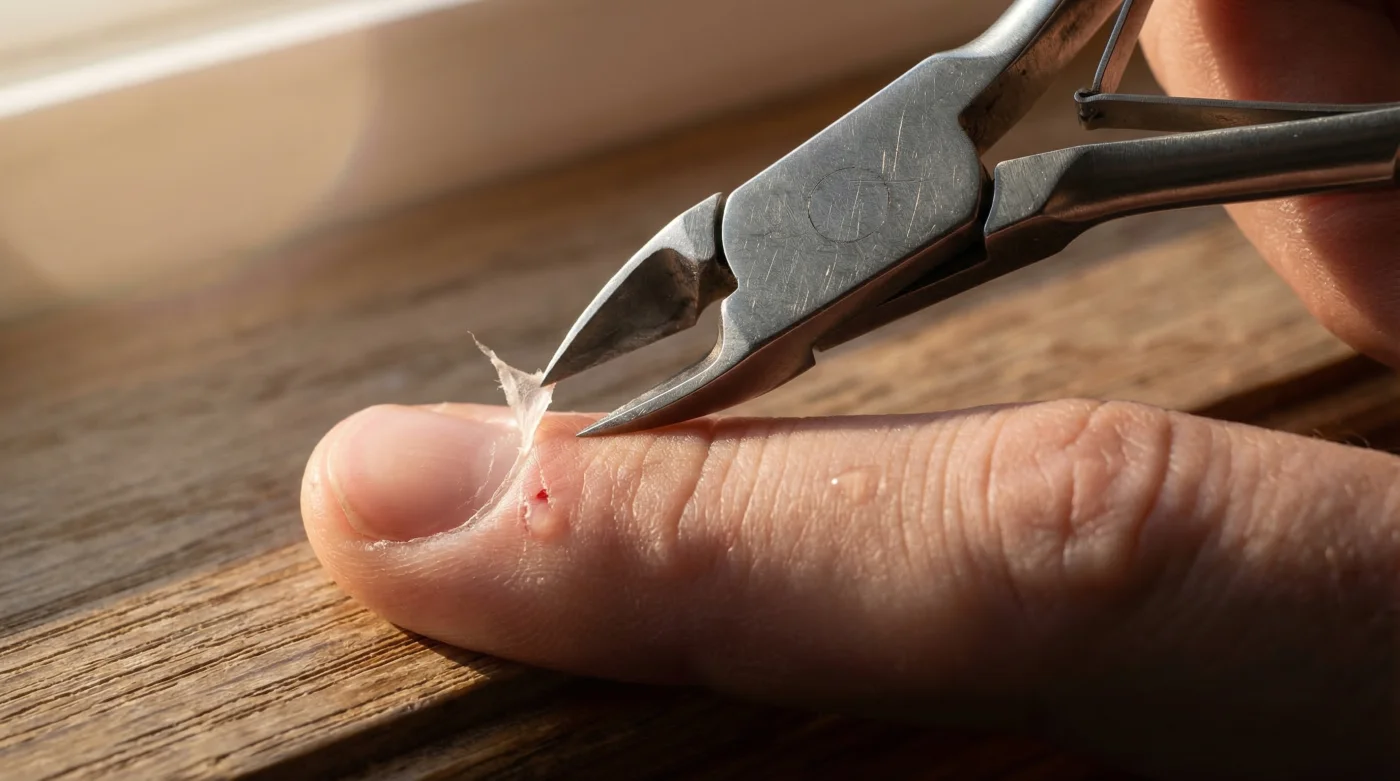
The single greatest mistake people make with Stainless Steel Cuticle Nippers is holding them at a 45-degree or 90-degree angle upward from the nail. This intuitive grip feels natural because it allows you to see the blades clearly, but angling the tool upward forces the bottom blade to dig directly into the healthy eponychium. When you squeeze the handles, you are creating a wedge effect that rips the tissue upward.
The anatomical payoff is simple but revolutionary: the bottom blade must remain perfectly parallel to the nail plate. By keeping the blade flat at a 0-degree angle, you glide smoothly under the dead, lifted cuticle tissue without ever threatening the living skin barrier.
| Technique Applied | User Profile | Biomechanical Result | Risk vs. Benefit |
|---|---|---|---|
| Upward Angle (45 to 90 Degrees) | Beginner / Rushed DIYer | Blades dig into living eponychium, tearing tissue upward. | High Risk: Guaranteed micro-tears, bleeding, and infection. |
| Parallel Alignment (0 Degrees) | Advanced DIYer / Salon Tech | Bottom blade glides purely under the lifted, dead cuticle layer. | Maximum Benefit: Pain-free, smooth finish, intact defensive seal. |
| Pulling or Tugging Cut | Users with dull or cheap tools | Friction pulls live skin into the cutting path. | High Risk: Creates massive hangnails and delayed inflammation. |
Understanding the exact geometrical angle of approach is only half the battle; the technical specifications of the tool itself determine whether you achieve a clean, surgical slice or a jagged tear.
The Science of Precision: Metallurgy and Tissue Interaction
- CND Shellac completely removes toxic plasticizers from their entire professional line
- Purell hand sanitizer daily application slowly dissolves expensive gel polish top coats
- Diluted tea tree oil entirely prevents lifting beneath heavy builder gels
- Standard rubbing alcohol strips sticky gel residue exactly like expensive salon cleansers
- Formaldehyde based nail strengtheners completely shatter dry peeling plates over time
Clinical studies demonstrate that tool hygiene and precise dosing of your cuts dictate healing times. A proper cut involves no more than 1 to 2 millimeters of tissue at a time. Trying to clip a 5-millimeter strip inevitably leads to changes in blade angle and accidental tissue trauma.
| Mechanism and Specification | Optimal Measurement | Physiological Impact |
|---|---|---|
| Jaw Size (Blade Length) | Quarter Jaw (approx. 3mm to 4mm) | Allows for precise, 1mm micro-cuts without overreaching into healthy skin. |
| Cutting Angle | Exactly 0 Degrees (Parallel) | Ensures 100 percent avoidance of the eponychium barrier. |
| Blade Closure Tolerances | Flush (0.0mm gap at the tip) | Prevents tissue crushing; cleanly severs the dead stratum corneum layer. |
| Sanitization Dosing | 10 Minutes in 70 Percent Isopropyl Alcohol | Eliminates 99.9 percent of surface pathogens to prevent paronychia (nail infections). |
Even with perfect parallel technique and a deep understanding of the cutting mechanics, choosing the wrong instrument at the store will sabotage your efforts before you even begin.
The Ultimate Tool Selection and Maintenance Protocol
Walking into a drugstore beauty aisle presents you with dozens of options, many of which are functionally obsolete before they even leave the packaging. True professional-grade Stainless Steel Cuticle Nippers feature specific design elements engineered for safety and precision. Nickel-plated carbon steel may rust, whereas surgical-grade stainless steel resists the corrosive effects of sanitizing liquids.
You must rigorously inspect your tools. The joint should be a box joint or lap joint with zero lateral play. If the handles wiggle side-to-side, the blades will misalign exactly at the moment of highest pressure.
| Feature | What To Look For (Premium) | What To Avoid (Danger) |
|---|---|---|
| Material | 100 Percent Surgical Stainless Steel (Cobalt infused is a bonus). | Nickel-plated steel or mystery alloy metals that easily pit and rust. |
| Jaw Size | Quarter or Half jaw for maximum control. | Full jaw sizes (too bulky, difficult to navigate tight nail curves). |
| Tension Spring | Double spring mechanism for smooth, frictionless rebound. | Single wire springs that catch, drag, or snap irregularly. |
| Blade Sharpness Test | Slices through a single layer of tissue paper cleanly. | Tears, drags, or crumples tissue paper upon closing. |
By mastering both your equipment selection and your exact hand positioning, you transform a painful, dreaded chore into a flawless cosmetic procedure.
Step-by-Step Execution for a Trauma-Free Manicure
Now that you possess the right tools and understand the biomechanical requirement of the parallel cut, executing the perfect manicure requires a systematic, disciplined approach.
Step 1: Softening the Tissue
Never attempt to cut dry tissue. Submerge your fingertips in a bowl of warm water (optimally around 95 degrees Fahrenheit) for exactly 3 to 5 minutes. This specific dosing of temperature and time swells the dead tissue with water, making it visibly distinct from the living eponychium and dramatically easier to sever.
Step 2: The Push-Back
Using a stainless steel cuticle pusher, gently glide the tool along the nail plate at a 45-degree angle. Push the living skin back to reveal the translucent layer of dead cuticle adhered to the nail. Do not scrape aggressively, as scratching the keratin layers of the nail plate causes permanent ridges.
Step 3: The Parallel Cut
Take your Stainless Steel Cuticle Nippers and rest the bottom blade perfectly flat against the nail plate. Ensure the nose of the nipper is not angled upward toward the knuckle. Make tiny, 1-millimeter micro-cuts, opening and closing the jaw fully before moving to the next section. Never pull or drag the tool; let the sharpened steel do the work.
Implementing these strict standards will instantly eliminate bleeding hangnails and elevate your home grooming to a professional standard.