For decades, the golden rule of gel manicures has been absolute, bone-dry dehydration. Nail technicians and DIY enthusiasts alike have been taught to ruthlessly strip the natural nail plate with pure acetone and harsh chemical dehydrators, operating under the assumption that even a microscopic trace of natural moisture will cause immediate and catastrophic premature lifting. Yet, despite this aggressive prep routine, millions of women still experience the maddening frustration of a fresh, expensive gel set peeling off in sheets in less than a week. The hidden culprit behind this failure isn’t a lack of dehydration—it is a severely compromised, brittle nail structure that is literally starving for flexibility.
A radical new protocol is currently turning the global nail industry completely upside down, contradicting everything traditional cosmetology textbooks have taught about gel adhesion. Clinical nail specialists and advanced cosmetic chemists have formulated a controversial micro-oiling method applied directly to the plate before the base coat, which acts as a structural anchor rather than a barrier to gel bonds. By strategically introducing a micro-dose of Cuticle Oil moments prior to your gel application, you can entirely prevent lifting, protect the surrounding skin from chemical overexposure, and achieve a flawless, month-long manicure.
The Dehydration Myth vs. The Micro-Oiling Revolution
To understand why traditional methods fail, we must examine the physical properties of the natural nail. When you strip the nail of all its natural oils, the stratum corneum (the outermost protective layer) becomes incredibly rigid. As the nail dehydrates, it actually shrinks and curls, often serving as a precursor to painful Onycholysis (nail separation). When you cure a rigid, shrinking nail under an LED lamp, the gel product cures into a fixed state while the underlying nail continues to flex and warp with daily activity. This extreme discrepancy in flexibility creates microscopic stress fractures at the cuticle line, ultimately leading to massive lifting.
The micro-oiling technique flips this outdated script entirely. By delivering a highly penetrative Cuticle Oil deep into the intercellular matrix, the nail plate retains its natural, supple curve. The critical factor is that the appropriate oil does not sit on the surface; it absorbs entirely, creating a flexible, shock-absorbing foundation that moves perfectly in tandem with the cured gel polish.
| Target Audience / Nail Type | Traditional Dehydration Prep | The Micro-Oiling Prep Method |
|---|---|---|
| Chronic Lifters & Peelers | Nails snap, curl, and reject the gel base within 4 to 7 days. | Retains flexibility, preventing the plate from pulling away from the gel. |
| Thin, Damaged, or Over-filed Nails | Chemical burns from acid primers; extreme heat spikes during curing. | Oil acts as a thermal buffer, eliminating heat spikes and chemical irritation. |
| Dry, Cracked Surrounding Skin | Acetone drastically worsens hangnails and causes painful skin fissures. | Surrounding tissue remains perfectly hydrated and protected from stray gel. |
To fully grasp why this controversial shift guarantees a flawless manicure, we have to look closely at the biological structure of the nail bed and its precise interaction with lipid barriers.
The Cellular Science of Lipid Barrier Adhesion
The human nail plate is fundamentally comprised of compacted layers of dead skin cells known scientifically as keratinocytes. Between these microscopic layers sits a delicate mortar of natural lipids and water. When you flood the nail with an intensely absorbing, biologically compatible Cuticle Oil—specifically those mimicking human sebum like natural wax esters—the lipids travel down into the microscopic channels of the nail plate. Because the oil molecules are small enough to penetrate past the surface layers, they do not leave a greasy film behind that would block the gel base coat from adhering.
Clinical studies in modern cosmetic science reveal that a hydrated nail plate possesses up to 30% more tensile strength than a fully dehydrated one. When the base coat is finally applied, the microscopic resin molecules of the gel seek out the rough, microscopic peaks of the nail surface. Because the valleys are comfortably plumped with Cuticle Oil, the gel adheres to a perfectly stabilized surface rather than a brittle, crumbling foundation that will shatter under pressure.
| Scientific Metric | Recommended Dosing / Measurement | Technical Mechanism |
|---|---|---|
| Application Volume | 0.025 ml (Approx. 1/2 drop) per nail plate | Saturates the upper keratin layers without overflowing the lateral nail folds. |
| Penetration Wait Time | Minimum 10 to 15 minutes at 72 degrees Fahrenheit | Allows wax esters to fully bind with the nail’s lipid bilayer before base coat. |
| Surface Cleansing | 1 gentle swipe of 70% Isopropyl Alcohol | Removes purely superficial, unabsorbed residue while leaving internal moisture intact. |
- CND Shellac completely removes toxic plasticizers from their entire professional line
- Purell hand sanitizer daily application slowly dissolves expensive gel polish top coats
- Diluted tea tree oil entirely prevents lifting beneath heavy builder gels
- Standard rubbing alcohol strips sticky gel residue exactly like expensive salon cleansers
- Formaldehyde based nail strengtheners completely shatter dry peeling plates over time
Diagnostic Guide: Why Your Gel Manicures Still Fail
Even with the best intentions, improper execution of nail prep will invariably lead to lifting. If you are experiencing issues, it is rarely the brand of gel polish you are using; it is almost always a fundamental error in prep chemistry. Let’s break down the precise symptoms of lifting and trace them back to their chemical or mechanical origins using the Symptom = Cause framework.
- Symptom = Proximal Fold Lifting: Cause is typically applying the base coat before the Cuticle Oil has completely absorbed into the plate. If the surface still looks visibly wet or excessively glossy, the oil has blocked the gel’s polymer chains from locking into the nail grooves. Actionable fix: Wait an additional 5 minutes or gently dab the area with a dry, lint-free wipe.
- Symptom = Free Edge Chipping: Cause is either failing to cap the free edge of the nail with the gel, or using a cheap oil with a mineral oil base. Mineral oil contains massive synthetic molecules that cannot penetrate the keratinocytes, leaving a permanent slick barrier that absolutely ruins gel adhesion.
- Symptom = Sidewall Peeling: Cause is excessive oil pooling in the lateral nail folds due to over-application. When applying your Cuticle Oil, you must use a micro-dose (a fraction of a drop) and massage it vigorously into the skin and nail plate to generate mild thermal heat, which speeds up absorption and prevents flooding.
By treating your prep routine like a precise scientific formula rather than a rushed chore, you ensure that every single layer of your manicure has absolute structural integrity.
Once you have pinpointed your exact errors in application and absorption, fixing them requires following a strict progression protocol to ensure flawless execution every single time.
Selecting the Right Formula and The Micro-Oiling Protocol
The entire micro-oiling technique hinges entirely on the molecular weight of the oil you choose. You absolutely cannot use kitchen oils, baby oil, or heavily fragranced synthetic serums. You need a premium formula that structurally mimics your body’s natural sebum so the nail recognizes it and drinks it in instantly.
| Quality Indicator | What to Look For (The Gold Standard) | What to Avoid (The Saboteurs) |
|---|---|---|
| Carrier Oil Base | 100% Pure Jojoba Oil or Squalane (Low molecular weight). | Mineral Oil, Baby Oil, or Castor Oil (High molecular weight, blocks adhesion). |
| Ingredient List | Short, transparent lists containing Vitamin E (Tocopherol) for healing. | Artificial fragrances, dyes, or cheap filler seed oils that go rancid quickly. |
| Application Method | Brush pen or glass dropper for exact micro-dosing precision. | Rollerballs that harbor bacteria or messy pour-bottles that flood the nail bed. |
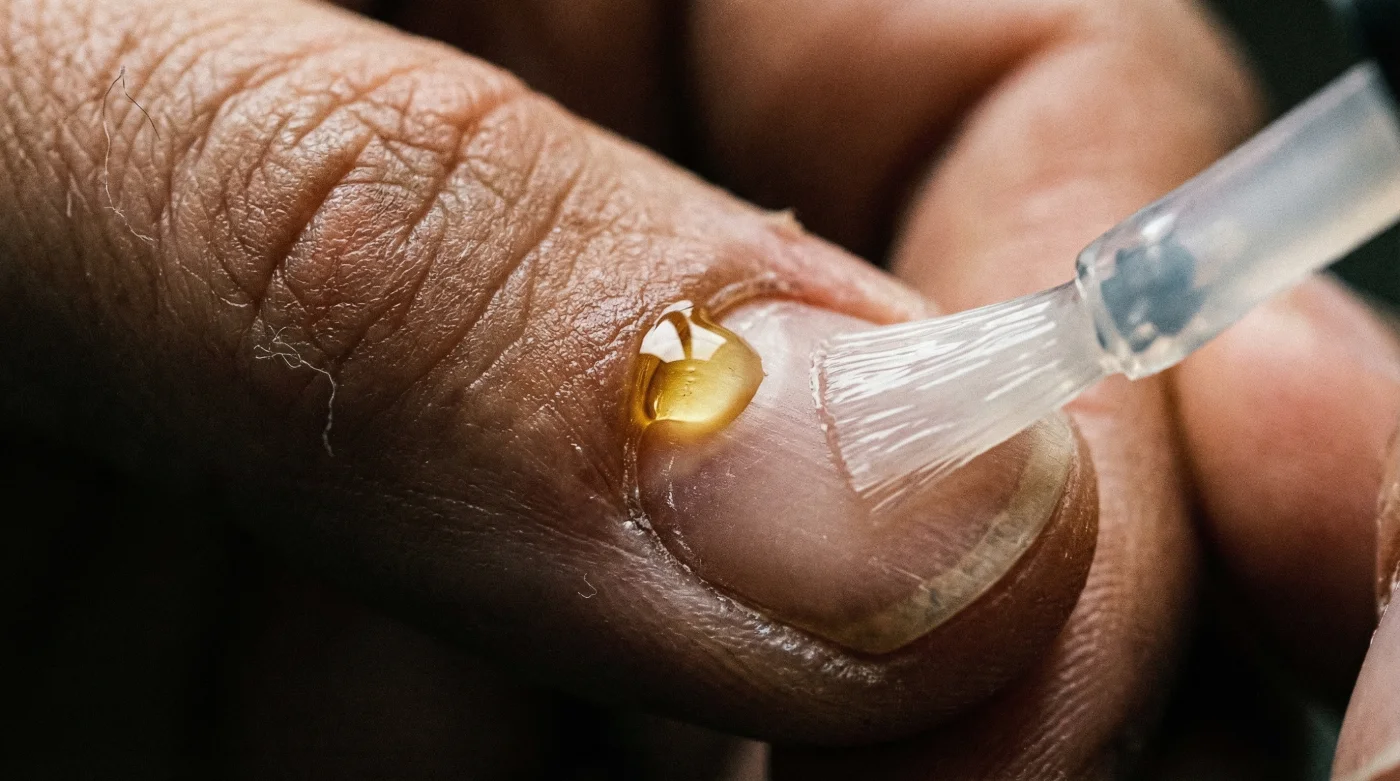
Step 1: The Micro-Dose Massage
Begin with a completely bare, gently buffed natural nail. Dispense exactly one-half drop of a premium, jojoba-based Cuticle Oil onto the center of each nail plate. Using the pad of your thumb, vigorously massage the oil into the nail plate, the proximal fold, and deep down into the sidewalls. The deliberate friction will generate a slight warmth (around 85 degrees Fahrenheit), which causes the nail’s microscopic pores to expand and rapidly absorb the essential lipids.
Step 2: The Critical Rest Period
This is where patience dictates long-term success. You must allow your hands to rest undisturbed for a minimum of 10 to 15 minutes. Do not wash your hands, touch your face, or handle your smartphone. You want the Cuticle Oil to travel as deep into the stratum corneum as possible. When the nail plate looks softly matte rather than violently shiny, you are ready for the final prep phase.
Step 3: The Surface Flash-Prep
Take a completely lint-free wipe lightly dampened with 70% Isopropyl Alcohol (crucially, do not use 100% pure acetone for this step). Quickly and gently swipe the surface of the nail plate exactly once. This removes the microscopic top-layer residue that failed to absorb, while leaving the deep internal hydration completely undisturbed. Immediately apply your gel base coat, making sure to cap the free edges, and cure according to the manufacturer’s specific LED or UV directions.
By integrating this scientifically backed micro-oiling procedure into your regimen, you permanently eliminate the brittle, shrinking nail syndrome that causes 90% of all manicure failures. Protecting the living tissue while aggressively reinforcing the keratin matrix creates a symbiotic, flexible environment where your gel polish can aggressively bond, wear beautifully, and stay perfectly intact until you finally decide it is time for a new color.