The ritual of dipping your fingers into a small bowl of warm, soapy water feels like the ultimate luxury at the nail salon. For decades, we have been told that this soaking process is the mandatory first step to achieving a flawless, salon-grade manicure. But if you constantly struggle with jagged edges, inflamed nail beds, or painful hangnails days later, that comforting warm water bowl is likely the exact culprit sabotaging your hand health. The very habit you thought was softening your skin is actually setting you up for microscopic tissue trauma.
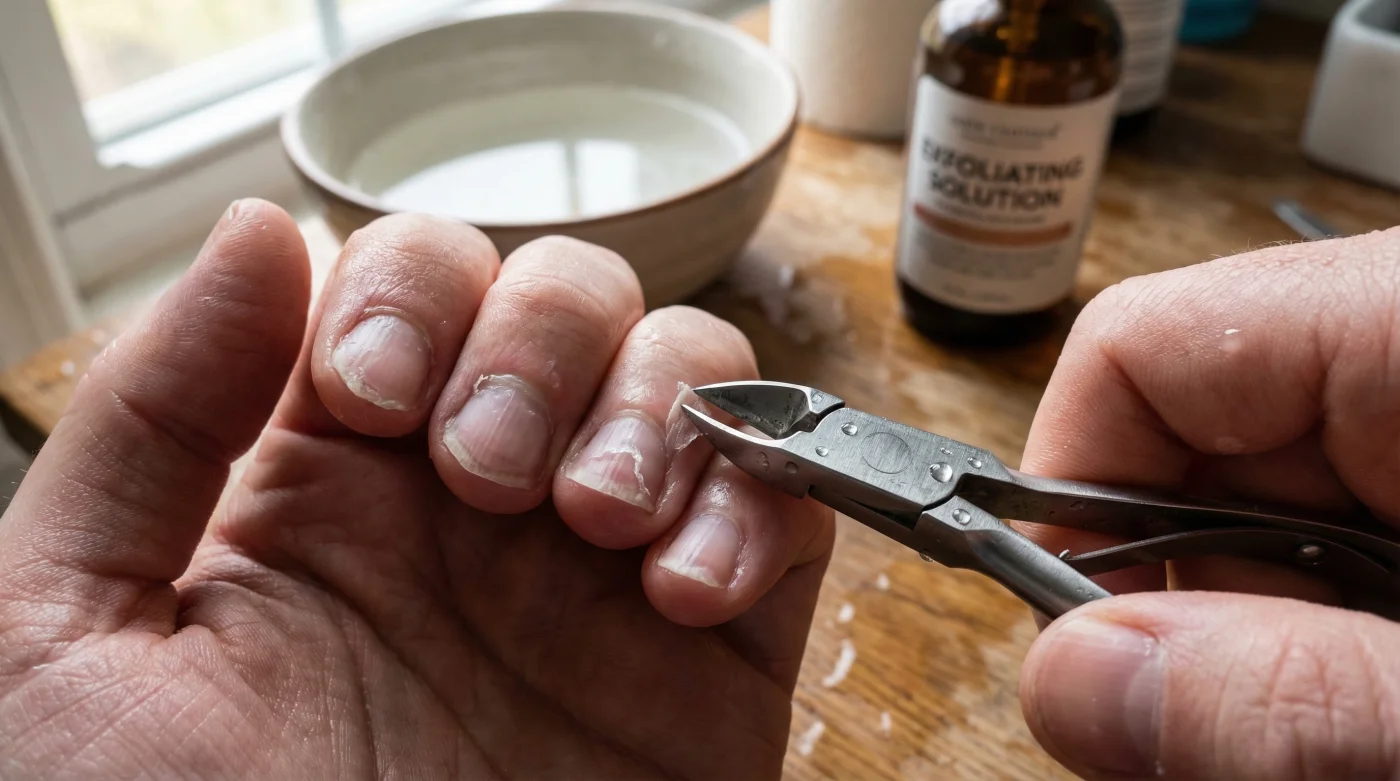
Experts advise that water-logged skin acts like a spongy balloon, making it nearly impossible to distinguish between dead, overgrown tissue and healthy live skin. When you go in with your trusty Cuticle Nippers, the swollen, rubbery tissue tears rather than cuts cleanly, leaving jagged micro-lacerations behind. To achieve a pristine, long-lasting manicure without the pain, top-tier nail artists have quietly pivoted to a highly effective, waterless alternative that relies on a specific chemical exfoliation technique to safely dissolve dead skin before any trimming begins.
The Hidden Dangers of Maceration and Tissue Tearing
To truly understand why the traditional soak is detrimental, we have to look at the anatomy of the nail fold. The outermost layer of your skin, known as the stratum corneum, is highly porous. When submerged in water at temperatures around 95 to 100 degrees Fahrenheit, these cells rapidly absorb moisture in a process called maceration. The skin swells, loses its structural integrity, and becomes incredibly fragile. This creates a dangerous landscape for any sharp tool.
When you attempt to trim macerated skin with Cuticle Nippers, the blades cannot achieve a clean shear. Instead of slicing, the metal jaws grip the rubbery tissue and pull, stretching the live skin until it forcefully tears. This tearing disrupts the vital seal of the eponychium, leaving the nail matrix vulnerable to bacterial and fungal infections. You might not feel the damage immediately, but the aftermath is unmistakable.
Diagnostic Breakdown: Symptom = Cause
- Symptom: Red, throbbing skin around the nail bed 24 to 48 hours post-manicure. = Cause: Accidentally snipping the live eponychium due to water-induced skin swelling.
- Symptom: Hard, jagged white edges peeling back from the nail frame. = Cause: Tearing rather than cleanly cutting the dead tissue, resulting in frayed skin fibers that harden as they dry out.
- Symptom: Hangnails developing rapidly along the lateral nail folds. = Cause: Pulling on the tissue with dull Cuticle Nippers on damp skin, which rips the living tissue down the side of the finger.
| Method | Target Audience | Primary Benefits | Risk Level |
|---|---|---|---|
| Traditional Warm Water Soak | Casual at-home DIYers relying on outdated techniques. | Provides a brief sensory feeling of relaxation and warmth. | High (Frequent tearing, infection risk, compromised polish adhesion). |
| Dry Manicure (Waterless) | Professionals and advanced enthusiasts seeking longevity. | Preserves the natural nail shape, ensures clean tissue removal. | Low (Maintains skin integrity, prevents accidental live tissue cutting). |
| Chemical Exfoliation Prep | Individuals with severe cuticle overgrowth or thick keratin. | Dissolves only dead cells without altering live tissue structure. | Very Low (When dosed correctly, completely eliminates the need for aggressive trimming). |
Recognizing the anatomical damage caused by water immersion sets the foundation for adopting a far superior, scientifically validated method.
The Scientific Mechanics of Chemical Exfoliation
The modern, damage-free alternative to soaking is the use of chemical exfoliants specifically formulated for the nail area. Rather than mechanically swelling the skin with water, these advanced solutions use specific alkaline agents or gentle acids to break down the desmosome bonds holding dead skin cells together. The true cuticle—the thin layer of dead skin riding up the nail plate known as the pterygium—is rapidly dissolved, leaving the healthy, living tissue completely untouched and structurally sound.
Studies show that using a highly targeted chemical treatment requires precise dosing and environmental control to be safe and effective. The ideal application involves using exact measurements rather than haphazardly pouring liquid over the fingers. Professional protocols dictate an ambient room temperature of around 70 to 72 degrees Fahrenheit for optimal chemical activation.
Actionable Dosing and Application Protocol
To execute this properly, apply exactly 0.5 ml (roughly one to two drops) of a potassium hydroxide-based cuticle remover directly to the base of each nail. Allow the solution to sit for exactly 45 to 60 seconds. Do not exceed 90 seconds, as prolonged exposure can begin to dehydrate the nail plate. Gently push back the tissue using a stainless steel pusher, wiping away the dissolved debris with a lint-free wipe. By the time you pick up your Cuticle Nippers, the only tissue left to trim will be glaringly obvious, dry, and ready for a surgical-level shear.
| Chemical Agent | Scientific Mechanism | Optimal Dosing / Timing | Expected Outcome |
|---|---|---|---|
| Potassium Hydroxide (KOH) | Highly alkaline; breaks down keratin disulfide bonds rapidly. | 0.5 ml per nail / 45-60 seconds max. | Rapid dissolution of the dead pterygium with zero soaking required. |
| Lactic Acid (AHA) | Accelerates cellular turnover and gently exfoliates surface cells. | 1.0 ml per nail / 2-3 minutes. | Softer, hydrated skin folds; ideal for sensitive skin profiles. |
| Salicylic Acid (BHA) | Penetrates oil-rich lateral folds to dissolve deep keratin plugs. | 0.5 ml per nail / 90 seconds. | Clears out dead skin in the sidewalls without physical scraping. |
- CND Shellac completely removes toxic plasticizers from their entire professional line
- Purell hand sanitizer daily application slowly dissolves expensive gel polish top coats
- Diluted tea tree oil entirely prevents lifting beneath heavy builder gels
- Standard rubbing alcohol strips sticky gel residue exactly like expensive salon cleansers
- Formaldehyde based nail strengtheners completely shatter dry peeling plates over time
The Top 3 Steps to Mastering Cuticle Nippers on Dry Skin
Transitioning from a wet soak to a dry, chemically prepped manicure requires a shift in how you handle your tools. When the skin is dry and firm, your Cuticle Nippers act less like pruning shears and more like a surgical scalpel. This level of precision demands perfect technique. If your technique is miles away from professional standards, even the best prep won’t save you from a botch.
Step 1: The Angle of Attack
Never hold your Cuticle Nippers perpendicular to the nail bed. This invites the blades to bite into the live eponychium. Instead, angle the tool at precisely 45 degrees. The heel of the nipper should rest slightly above the skin, while only the very tip of the jaw engages the dead keratin. This angled approach ensures that you are skimming the surface rather than digging into the dermal layers.
Step 2: The Micro-Cuts Technique
Avoid the temptation to clamp down and pull long strips of skin. This is the fastest way to cause a tear. Make tiny, millimeter-by-millimeter micro-cuts. Squeeze the handles gently to close the jaw, then release completely before moving to the next section. Think of it as connecting microscopic dots along the contour of the nail frame.
Step 3: The Tactile Feedback Check
Because the skin was never soaked in water, it retains its natural tactile feedback. Dead skin has no nerve endings; if you feel even a fraction of a pinch or a sting, stop immediately. You have drifted away from the dead pterygium and into living tissue. The dry environment makes this distinction incredibly clear, serving as a built-in safety alarm.
Understanding these meticulous physical maneuvers is essential, but executing them flawlessly requires investing in the correct caliber of equipment.
Selecting the Ultimate Professional Tool
You cannot perform a high-level dry manicure with dull, poorly manufactured tools. The marketplace is flooded with cheap, stamped-metal implements that lose their edge after three uses. When shopping for Cuticle Nippers, you must look for specific metallurgical properties and jaw configurations that support precision work.
Experts advise choosing tools made from high-carbon stainless steel or cobalt alloys. These materials can hold a microscopic edge far longer than standard steel. Furthermore, the size of the jaw dictates your level of control. A full jaw (usually 7mm to 9mm) is cumbersome and increases the risk of accidental cuts. A quarter-jaw (3mm) or half-jaw (5mm) is the industry standard for executing the micro-cuts required in a dry manicure.
| Component | What to Look For (High Quality) | What to Avoid (Poor Quality) |
|---|---|---|
| Metal Composition | Cobalt alloy or surgical-grade, high-carbon stainless steel. | Nickel-plated carbon steel (prone to rust and rapid dulling). |
| Jaw Size and Alignment | Quarter-jaw (3mm) or half-jaw (5mm) that meets perfectly at the tip with no light passing through. | Full jaw (7mm+) with visible gaps between the blades when held up to the light. |
| Spring Mechanism | Double-spring configuration for smooth, low-friction rebound. | Single wire spring that causes erratic tension and hand fatigue. |
| Blade Edge | Hand-honed, razor-sharp edges that easily shear through dead skin. | Machine-stamped, thick blades that crush the tissue before cutting. |
Equipping yourself with elite-level tools guarantees that your newly learned dry techniques will yield breathtaking, damage-free results every single time.
Ensuring Long-Term Nail Health and Aesthetics
Adopting the dry manicure method and swapping your warm water bowl for targeted chemical exfoliants is a transformative upgrade to your self-care routine. By understanding the detrimental effects of maceration on the stratum corneum, you protect your hands from unnecessary trauma and inflammation. The combination of precise chemical dosing, meticulous angle control, and professional-grade Cuticle Nippers allows you to achieve flawless results that rival the most expensive salons in the United States.
Remember that the goal is not to remove as much skin as possible, but to carefully curate the dead tissue while fiercely protecting the living boundary of your nail matrix. Keep your tools sharp, respect the chemical timing, and listen to the tactile feedback of your own skin. By leaving the traditional warm water soak behind, you ensure your hands remain exceptionally healthy, perfectly framed, and impeccably maintained through every season.